Nothing is more aggravating than waiting for your parts to print out. You have 27 hours of estimated print time left and a looming, 20-hour deadline. Why is it taking so long, and what do you do?
Your 3D print is taking so long because you haven’t balanced your settings correctly. These can be as simple as changing the speed settings or the wall thickness parameters. Also, you may be able to change the printer itself to speed up the process.
In this comprehensive guide, I’ll show you how to tweak the basic software settings to get the maximum speed possible without sacrificing too much quality. I will also take you through a few easy steps for getting the most out of your 3D printer.
How Speed Affects the Print Quality

When I talk about speed, it means how fast the nozzle moves around the part while laying down each layer. But all you care about is how quickly you can move the process along so you can get to your next printing job. So, with that in mind, it is essential to discuss how speed affects print quality so that you can make an informed decision on how fast you want your settings.
We all want parts produced quickly, but you will always achieve better quality at slower speeds. That’s the hard reality of 3D printing. So, the best thing to do is ask yourself two questions before you start a job:
- Do you need a strong part produced fast, and you don’t necessarily care how nice it looks?
- Do you need a beautifully sculpted, dimensionally accurate part?
If the answer is that you need a part that is fast and don’t care how it looks, then achieving maximum printing speed is what you want. But if you are going to create a work of art, you may want to slow things down. Why is that?
The printer nozzle runs back and forth, creating the part in several layers. The faster that nozzle moves, the jerkier it becomes, and the less chance there is of it laying down the material evenly. The result is a part that is slightly off or not very aesthetically pleasing.
What Is the Average Speed for 3D Printing?
Printing speed largely depends on the type of material used in the process. For example, you can get around 60MM/s using polylactic acid (PLA) with most printers. The average across all material spectrums is between 40MM/s and 100MM/s.
Whether you have a $330 printer or a $30,000 high-tech machine with every feature imaginable, it all comes down to the materials and tuning process. In the next section, I’ll give you some ideas on tweaking both of these variables to get the maximum speed and quality from all your 3D printing jobs.
Traditional Approach
For this section, we’ll be using the Cura 3.2 version, which is a median of what most 3D printers can handle. If you have a new version, you will be able to make roughly the same modifications I presented here in this guide.
I’ll begin with the more traditional approaches to speeding up a 3D printing job. For each setting modification, I’ll be giving you an idea of how much time you can expect to save for each. But it is a good idea to keep in mind that each machine is different. Printing time will vary from one to the other.
Set the Profile
High Quality (0.1MM) is usually the default Cura setting. By changing to standard quality printing, you can save as much as 30% off the time it takes you to print the part.
Increase the Layer Height
Try doubling the layer height, which can cut the printing time in half. For example, if the default layer height is 0.15MM, increase it to 0.3MM. One drawback is that your printer has to be equipped with a wide enough nozzle to handle the chosen layer height, which is 0.3MM.
Ideally, though, you want to select a layer height that is only ¾ the size of your nozzle width. By having the nozzle slightly above what you select, you get a more uniform application of the material during the extrusion process.
Another downfall to increasing the layer height is the lack of detail, especially with rounded objects. You can lose a lot of definition since larger layers can make an object look blocky or squared-off.
Change the Speed Settings
The next, most obvious thing to change is the speed setting on your 3D printer. For example, you may want to change it from 45MM/s to, let’s say, 70MM/s. Of course, make sure not to exceed your printer’s limitations, which could cause an unstable process and thereby produce poor results.
Also, you will have to balance your nozzle size with the speed at which you can print. Generally speaking, the higher the print speed, the wider the nozzle you will need.
Lower the Shell Settings
The standard settings are usually given in wall thickness in millimeters. However, the wall line count is the easiest to change. So, to speed up the printing process, you could, in theory, lower the line count. The obvious problem is, you could also lose some strength within the part’s structure. So, you have to again balance the speed parameters with the strength required for your end item.
Decrease the Infill Density
You can get away with decreasing the infill density by almost half since it is not quite as important as the wall thickness for structural integrity. This one step could save a lot of time on your 3D printing project. Here again, you have the same potential problem of needing to balance strength and printing speed.
Advanced Techniques

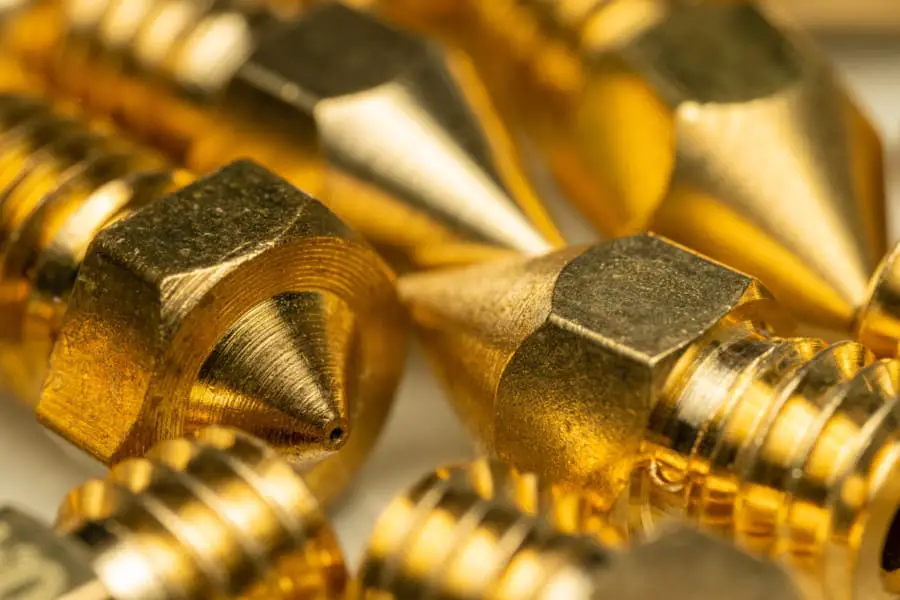
Increase the Nozzle Size
Keep in mind that not every 3D printer can change the nozzle size, But if yours does, you can speed things up by increasing the layer height. It is best to experiment to see what kind of results you can get by increasing both. So when you’re doing these kinds of setting modifications, it is best to carefully inspect the end product to see if it is strong enough according to your specifications.
3D Print Multiple Parts at Once
By printing multiple parts at the same time, you can greatly reduce the time it takes to complete a project. Follow these steps when printing multiple objects using Cura:
- Go to the main menu and select experts. Then switch to normal mode.
- Select project planner from the main menu.
- Select ADD on the lower right-hand corner of the build surface screen.
- Now, simply select from the pulldown which parts you want to include, and you are all set.
Note: You will have to drag each item so that they will all fit onto the project build surface. The program will let you know whether the print is feasible under the current parameters. It does this by showing the part in red if it cannot be printed. In this case, you can try moving it so it fits better with the other objects.
Final Thoughts
Hopefully, I’ve given you some ideas here on how to speed up your 3D printing. Before running out to buy a newer, faster 3D printer, try these suggestions first. You may be surprised at how well your lower-end model can perform with the right materials and a few well-focused tweaks.
