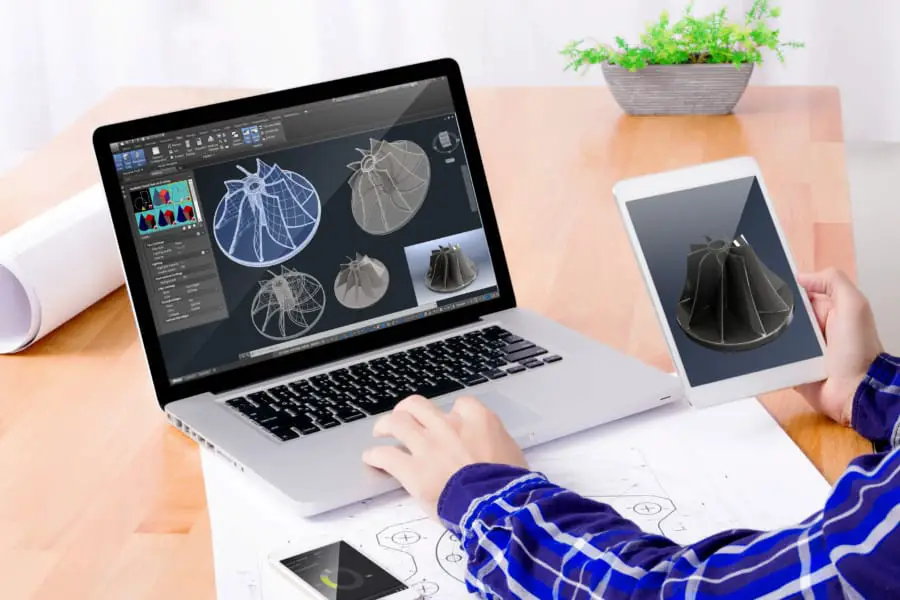
After printing hundreds of 3D files that other people had designed, I decided it was time for me to make something of my own.
I began researching all the different ways that I could go about this, and I found that there tons of different options to choose from. After trying many different programs, I have made a guide of the best ways to design for 3D printing.
CAD programs
CAD programs are the first and best solution you can use when it comes to creating your own models. Some of these programs are amazing, and others are not so great for 3D printing.
Since there are so many CAD (Computer Aided Design) programs to choose from, it may be confusing to know which one to use. Fortunately, it’s pretty easy to know once you realize the best uses for each one.
Tinkercad
- Price: Free
- Level: Beginner
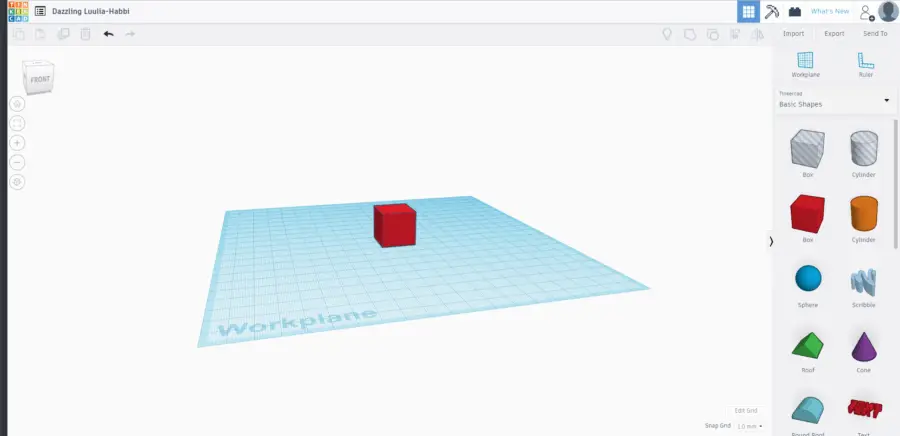
When it comes to CAD programs, Tinkercad is the first one you should try. It has great functionality for a free program, and is very easy to pick up and use. It’s an extremely intuitive program that allows you to create some awesome prints.
Tinkercad has a ton of shapes available to choose from. It’s camera movements are smooth, and it’s easy to learn. Even navigating the UI is a great experience.
Along with the free price tag, another great reason to use this program is that it is browser based.. This means you can access your account from any computer. Your projects are saved on your Autodesk account, so you don’t have to worry about losing your files.
Even if you don’t use Tinkercad, it’s worth it to create an Autodesk account. A lot of the other programs on this list come from Autodesk, as they create amazing 3D programs.
The downside of this CAD program is that it is only for beginner level stuff. I absolutely love the user interface, but it’s lack of advanced features makes me move on to more complicated software.
For the beginner designer, this is the first program you should check out. Once you get the feel of it and learn its shortcomings, then you may be ready to check out an intermediate program.
Sketchup
- Price: Free/Paid
- Level: Beginner/Intermediate
Sketchup is a program that you hear everyone mention when they talk about 3D printing design programs.
While it is an extremely powerful and intuitive CAD program, the models it produces for 3D printing aren’t great. I really don’t know what it is about this program, but the .stl files it makes are filled with errors.
When I’m browsing Thingiverse.com and see the words “created in Sketchup,” I tend to steer clear of that model. The geometry is always messed up and produced a lot of weird errors in printing.
Some people may be yelling at me right now, as Sketchup is widely regarded as a CAD program. While this it is a great program, it isn’t optimal for 3D printed models.
Maybe you know how to create a Sketchup .stl with no errors, but the models I’ve used that came from this program were riddled with annoying problems.
You’re more than welcome to give this program a shot, but just keep that thought in mind.
Onshape
- Price: Free/Paid
- Level: Professional
Onshape is a close second in CAD software for 3D printing. Like Tinkercad, it is also browser based.
There is a free version, but you aren’t allowed to use it for commercial use. For some users this isn’t an issue, but if you’re going to sell your designs, this is a major issue.
The paid version costs $1,500 a year, and I’ve heard that they keep raising their prices. Some users like the youtuber Thomas Sanladerer stopped using this program when they made it unavailable for commercial use.
As long as your plan isn’t to sell any designs, then Onshape might be worth a try.
AutoCAD
- Price: $1,610 a year
- Level: Intermediate/Professional
This is another great CAD program, but it’s main focus is on lines and architectural drawings. It can be used to render 3D, but that is not its area of expertise.
I don’t know much about the program, as I’ve never used it. I’ve seen people mention its name often enough that I know some people use it for 3D printing.
It has a hefty price tag, so it’s definitely not suited for beginners. There are better programs for the job, it might be worth looking into if you need its other functionality.
Fusion 360
- Price: $60 a month
- Level: Intermediate/Professional
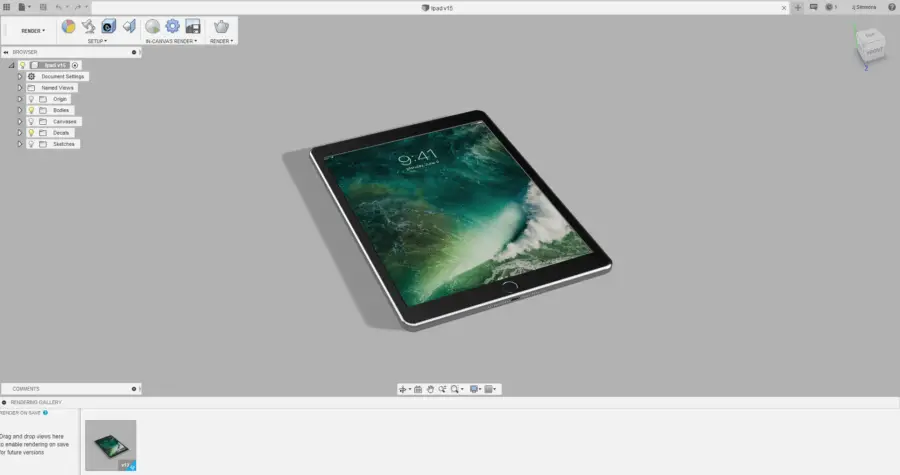
You may have been wondering why I sounded negative towards the last 2 programs on this list. That was because Fusion 360 is my favorite CAD program to use.
I’m not a great designer by any means, but the program is just so fun and easy to use. I’ve been able to make a lot of different things in this program for 3D printing.
For fun I recreate little objects that I have around me, such as a trophy or a pen. The best part is that you can easily export it as an .stl file,

If you are a student, you might be able to get a free year license of Fusion 360 like I did. The $60 a month is worth every penny, but a free license is definitely worth picking up.
Honestly I can’t think of a better tool for designing 3D prints. It has everything you need built right in, and is easy to learn.
Anyone from a beginner to a professional can use it. I highly encourage you to at least do a free trial and learn the basics of it.
Modeling
Modeling programs are mostly used for less technical 3D models. A lot of these can also be used to create models for video games for movies, so they are more suited for artistic creations than functional.
If your design is going to be something that needs dimensional accuracy, a modeling program is less helpful than CAD. But if you decide you want to design a bust of your favorite superhero, modeling and sculpting is the way to go.
Sculptris
- Price: Free
- Level: Beginner
Sculptris was the first digital sculpting program I tried, and it was very enjoyable and easy to use. There is something very satisfyinh about watching a fake ball of clay start to take the shape of something real.
Within a couple hours of messing around, I had created my own 3D version of an alligator.
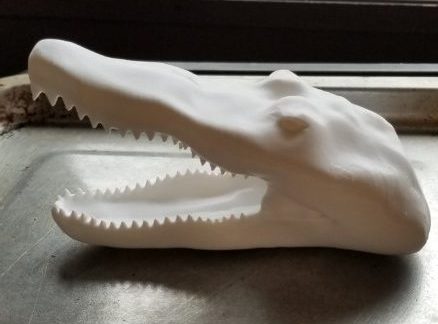
I’m not even an artistic person. I can’t draw to save my life, so it surprised me that I was able to create something that resembled an alligator.
I highly recommend you get this free program to play around with. It’s a lot of fun and is pretty useful for creating some cool 3D prints.
ZBrush
- Price: $40 a month
- Level: Intermediate/Professional
ZBrush is the big brother of Sculptris. If you enjoy using sculptris, then you’ll be blown away at the functionality of this program.
This is a program that I would love to get into more if I had the time. I found 3D sculpting to be my favorite form of 3D design.
On top of the sculpting aspect, ZBrush also offers features such as modeling, texturing, and painting. It’s a one stop shop for everything you’ll need.
There is a learning curve with it, like most programs on this list. If you pick up on programs quickly like I do then it won’t be a problem.
There are many helpful Youtube videos to help teach you the program, and they even have training classes on their website.
For $40 a month, it’s cheaper than many programs on this list. While not cheap by any means, it may be worth checking out if you really enjoy sculpting.
3DS Max
- Price: $195 a month
- Level: Intermediate/Professional
Like every other entry on this list, each program has its own toolset and uses. In the case of 3DS Max, it is a modeling program than can be used for video games and animations.
The downside of this program is that it has a large learning curve. It took me a long time to do the same things that I easily can do in Fusion 360.
I’ll be honest: when I tried 3DS Max, I didn’t enjoy it. That’s not to say you won’t though. It has a ton of functionality to it, but it’s definitely not the right place for a beginner to start learning.
3DS Max is also quite expensive compared to similar solutions. I can’t see anyone paying that price unless they are a professional at it.
The only way I was able to try it was with the free student license. Autodesk makes awesome programs, but I recommend Fusion 360 over this one.
Maya
- Price: $195 a month
- Level: Intermediate/Professional
To put it simply, Maya is Autodesk’s answer to ZBrush but with more animation capabilities.
For a beginner looking to design for 3D printing, I’d recommend starting with ZBrush first. Unless you need to animate your models, $195 a month just isn’t worth it.
A lot of people use both Maya and ZBrush, as both have very desirable qualities. ZBrush does a few things very well, but Maya is more of of a jack–of-all-trades.
Blender
- Price: Free
- Level: Beginner – Professional
I have a love-hate relationship with Blender. I spent many hours learning how to navigate through its terrible UI, but kept coming back because of its capabilities.
Blender is definitely worth a shot, but it’ll make you want to bang your head on a table. It’s free, which is a major plus, and it produces some amazing quality models.
It also has a ton of features, such as modeling, sculpting, rigging, animation, video editing, and even game creation. I’ve seen some of the models people can create with Blender, and they are pretty amazing.
I wouldn’t recommend it for digital sculpting though. It was very enjoyable sculpting with Sculprits, but with Blender sculpting is a drag.
Another thing to consider is that it’s an open sources program. I ran into my fair share of bugs while using it, and they can be quite frustrating.
Blender is an extremely versatile program, but it comes with the price of a tedious user interface.
Repairing your model
Inevitably, when you’re designing your own models, it’s going to have an error eventually. .STL errors can easily ruin your entire print.
It is wise to always run your files through a model fixer before printing or sending them to other people. As an added precaution, you can make sure there aren’t any separate shells.
The easiest way to find these shells is with a free program called Meshmixer. I highly recommend that anyone who designs models should download this.

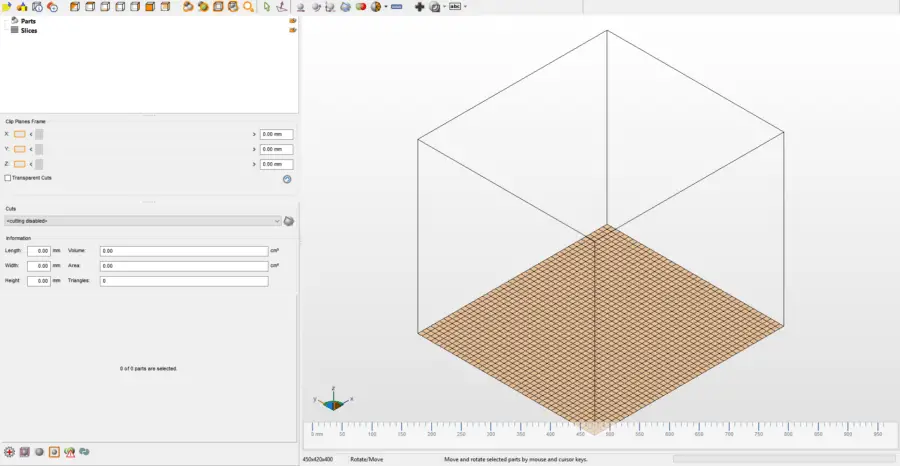
To find out how many shells there are, import your model and press Separate Shells. If it finds multiple, then you need to run it through a fixer.
Another way to tell if a model is broken is if you put it in your slicer and it’s missing pieces. The .STL file may look fine sitting in your slicer’s main windows, but you’ll see the errors when you prepare it to print.
Luckily these errors are easy to fix with the help of some other free programs.
Netfabb Online Service
Netfabb Online Service is the first solution I used, and continue to use it to this day. You can repair your model by simply uploading it to a web browser, and then receive the completely fixed model.
It’s just so easy to use, and costs nothing. All you need is an Autodesk account (there it is again).
Once you’ve signed up, locate your model in your files and upload it. Wait until it finished loading, and then click the download button. Your file should come back free from errors.
Make Printable
Make Printable is another online fixing solution, but you have to pay for it. Their website is beautiful, and you can bulk fix models.
If you don’t need a lot of models fixed, then you should probably stick with a free option. I have never been let down by any of the free options out there, so there’s no point in paying for the same thing.
Autodesk Netfabb
This one is the downloadable version of Netfabb Online Service, except it has way more features. The catch? It’s at minimum $30 a month.
It has tons of tools for fixing your models, and can even be used as a 3D print slicer. If your sole purpose is fixing the model, then you would be better off just using the free online service.
Other types of models
Photogrammatry
If you decide that 3D modeling your design isn’t your thing, then 3D scanning an existing object might be. All you really need to do this is a camera and some free software.
I did this with a DSLR camera in a dimly lit garage. Having better lighting would have been optimal, but I think it went pretty well.
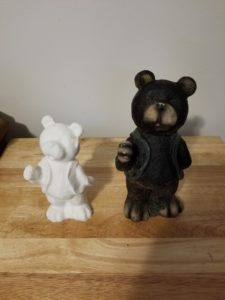
The better the lighting is, the more detail will be translated into the model. Take the pictures outside on a well-lit but cloudy day.
Cloud evenly disperse the light around the print. Shadows on your print will result in errors in the recreation process, so keep any shadows out of your images.
It’s better to take more images than fewer, as you can just delete the ones you don’t need. You need to take pictures in a complete 360 of every angle of the model.
Once you have these images, you can put them into Autodesk Recap. This software is free, but your files will need to wait in a queue before your model is created.
When you receive the finished model, you can use the built in tools to clean up any rough edges. Now you can finally export your model and prepare it for printing.
Lithophanes

I really love lithophanes. For some reason making them never seems to get old.
Lithophanes make great gifts, and are really fun to print. They are very simple to create, and in only a matter of minutes.
My favorite way to create a lithophane file is using Image to Lithophane http://3dp.rocks/lithophane/.
You import your picture, select your design, and download the file. It really doesn’t get any easier than that.
When you print these, make sure your infill percentage is set to 100%, or else you’ll see the infill lines through the print.
You won’t need to mess with the options in Image to Lithophane, except for the size setting. I recommend changing your lithophanes size in this rather than scaling with your slicer.
Conclusion
If you need to design a 3D model, you first need to determine what type of model it will be. An artistic model will be made using a 3D modeling program, and a functional model will be made with CAD.
Whatever program you choose, it’s important that you stick with it and learn all that you can. The best program for you will be the one that you are the most efficient with.
For a beginner designer, stick with the free options until you get the feel for design. When you think you’re ready, move on to the paid tools.