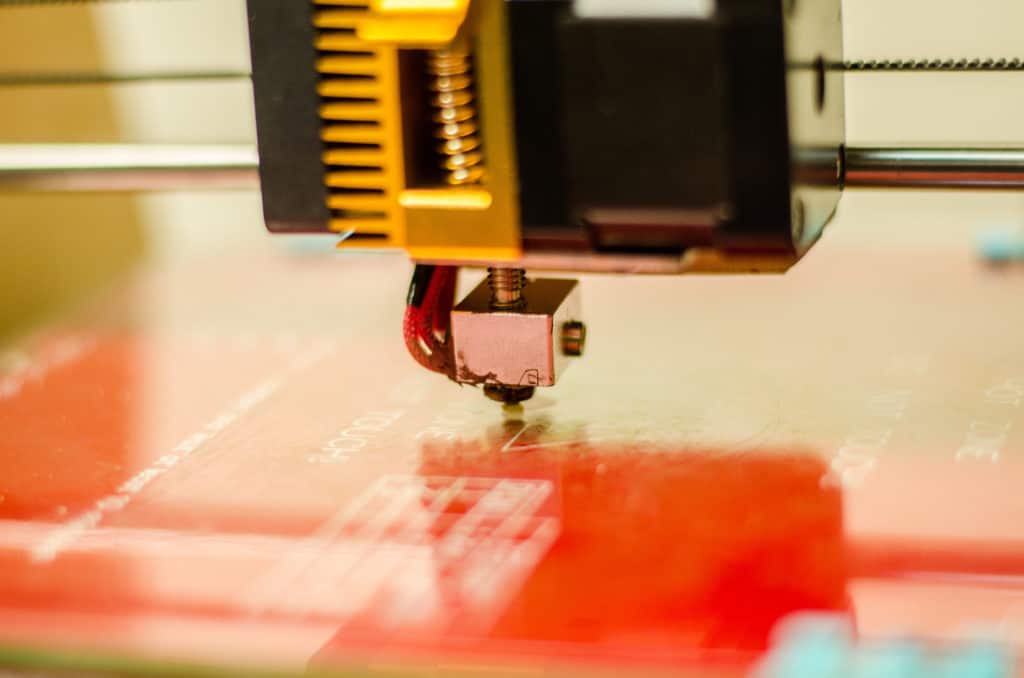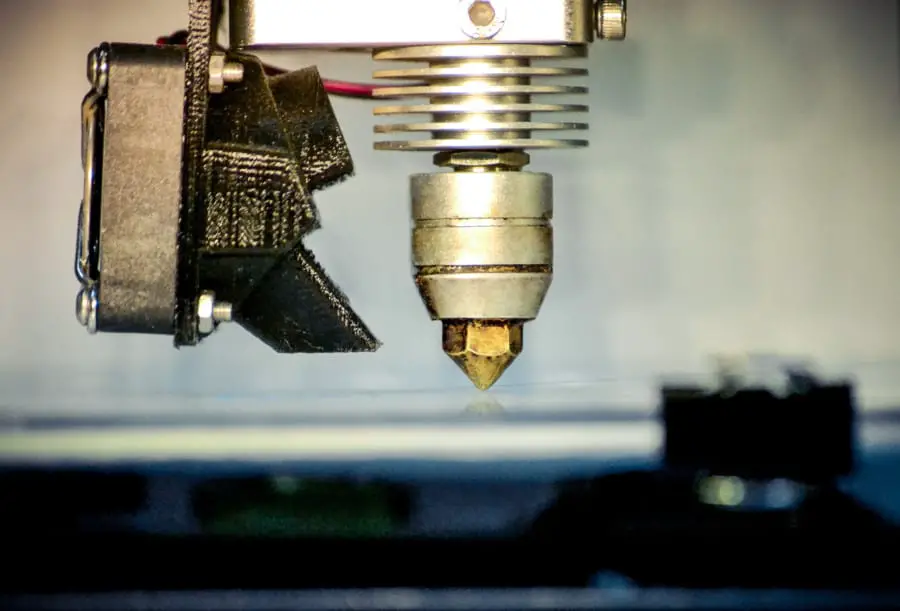
A correctly leveled bed can mean the difference between a good print and a terrible one. My failing to level the bed has probably made more of my prints fail than anything else.
How often should you level your 3D printer? Once it is leveled for a certain filament, you only need to make small adjustments every 5 to 10 prints. If you change the temperature or move the hot end at all, you may want to reconsider leveling again.
Despite the fact that bed leveling is an annoying and tedious process, it’ll make your prints look much better. If you need any information on when and how to level your bed, the rest of this article is exactly what you need.
When is it a good time to level?
Some people like to level their bed after every single print. While this ensures perfect quality, it is definitely not necessary. There are a few signals that tell you when it’s time.
Nozzle too close to the bed

The best way to know if your printer is too close is if your filament won’t even come out. Out of all the different issues, this one is the most damaging to your equipment.
If the nozzle scrapes against the bed, there is a high probability that it will break the tip of your extruder off. This is especially probable if the nozzle is warm at the time.
The bed could also get damaged, depending on what material it is. A glass bed will get scratched up, resulting in the bed being rough and damaged.
If you are in the process of leveling, and you hear the nozzle vibrating against the bed, then it’s too close. If you hear any sort of scraping noise, stop the print immediately and hope that it didn’t damage anything.
Too close of a nozzle can also result in the printer ripping the print from the bed. It could get caught on some part of the printer, and dislodge the entire print. Supports can get ripped off very easily, resulting in either bad overhangs or a completely botched print.
If you hear the nozzle scraping against the plastic, it’s too close. This will make the filament unable to be laid down properly, and weird lines of excess filament will be all around your print.
It is possible that a glass bed may have been warped in production. If this happens, you might want to see if you can contact the printer manufacturer and get another bed.
A warped bed will always be either too close or too far away from the nozzle, resulting in scraping or bad adhesion.
The first layer falls off
Speaking of adhesion, if your prints constantly fall off then it’s probably either too far away or too close. The first layer is the most important part of your print. If it comes loose for any reason, the rest of your print is doomed.
The good news is that it’s not a damaging problem like the nozzle touching the bed could be, but it can result in wasted filament and time. Always watch your print in its first layers to make sure it has proper adhesion.
If there looks like there is any give in the first layers, stop the print, level the bed, and start it again. It’ll be worth an extra minute or two to keep your print from being ruined.
The first layer looks bad
This would be kind of hit or miss when it comes to bed leveling. The first layer could look terrible based on the slicer settings you’re using, or it could be from improper leveling.
If the first layer looks very sparse or thin, it’s probably because of leveling. It needs to be perfectly flat in order for the layers to be formed correctly above it.
There have been times where I got lazy and just said “Eh, I’ll see how it turns out,” and it actually turned out great. The bottom layer looks terrible, but the rest of the print is fine. This is the result of your first layer settings being in need of adjustment.
Some people level their bed over and over, hoping their fist layer will turn out better. No matter how good your leveling is, it will never correct bad slicer settings. A combination of both is needed to ensure you have the highest quality prints.
Changing filaments
Just the simple act of swapping out a new roll of filament can cause your leveling job to reverse itself. Printers can lose their level very quickly, so moving the extruder or the nozzle around can do this without much effort.
Sometimes the filament will come out and build up against the bed, causing it to harden. This can cause a build-up of filament, resulting in a clog. I prefer to move my Z-axis up a small amount to prevent this from happening.
Printer maintenance
This should just go without saying, but anytime you do maintenance work on the printer, you need to level again. Moving the printer around makes the Z-axis shift around, or the bed corners could slip a little bit.
If you ever need to swap out your nozzle for another, this would definitely constitute a leveling. Sometimes simply moving your Z-axis can force you to re-level.
Just make it a priority to level after working on your printer, and you shouldn’t have any issues with this.
Changing temperature
Whenever you go from one filament material to another, you will have to either increase or decrease your bed and nozzle temperature. Any time you change the temperature, it either causes contraction or expansion.
Another tip for this would be to never level your bed while it is cold. The expansion when it warms up would immediately cause your bed to stop being leveled.
A glass bed is especially susceptible to thermal contraction, so always make sure your bed it heated all the way before leveling.
One mistake I’ve made is leveling the bed as it’s heating up. It took me a while to figure this out, as I thought I was making good use of my time. Unfortunately, I had to level it again as soon as it reached its final temperature, which negated any time I had saved.
How to level your bed
The act of leveling the bed is so simple, yet it can get so tedious over time.
First, set your printer to the home position. Take an ordinary sheet of printer or notebook paper, and slide it underneath your nozzle.
If the paper is able to slide under it without any resistance, the nozzle is too high. Keep lowering it until you feel the paper has a small amount of resistance against the nozzle.
Do this for all four sides of your bed. For even better results, do it again one more time in the opposite direction.
Eventually, you’ll get so good at this that you can do it in less than a minute. If you need a more in-depth guide, check out this awesome video guide on leveling.
How to level less often
After repeatedly leveling the bed, you’re probably going to get very tired of it. Most people who get annoyed with it look at other options, and there are a couple of things to try.
Probably the easiest (albeit the most expensive solution) is to buy a printer that has auto-leveling built into it. Ultimately, this will save you a lot of leveling time, but I have heard that auto-leveling isn’t perfect.
The second option to try is to make sure everything is tight on the printer. Sometimes taking your printer apart and tightening belts and screws can make a big difference,
Sometimes sturdier parts can be bought, such as better couplers. Whether you need to do this or not depends on the model of your printer and how bad your leveling situation is.
The last option for making leveling easier on yourself is to get an auto-leveling machine. Not all printers have this, but you can buy this for some, such as the Creality CR-10. These machines will move to each corner of the bed and find the best possible location for the axis to sit.
Conclusion
Bed leveling is a constant process. As you learn more about your 3D printer, you’ll figure out the best times to level the bed, and how reliable your leveling is.
There are options to make leveling easier, but you’ll get faster at it the more you do it.
