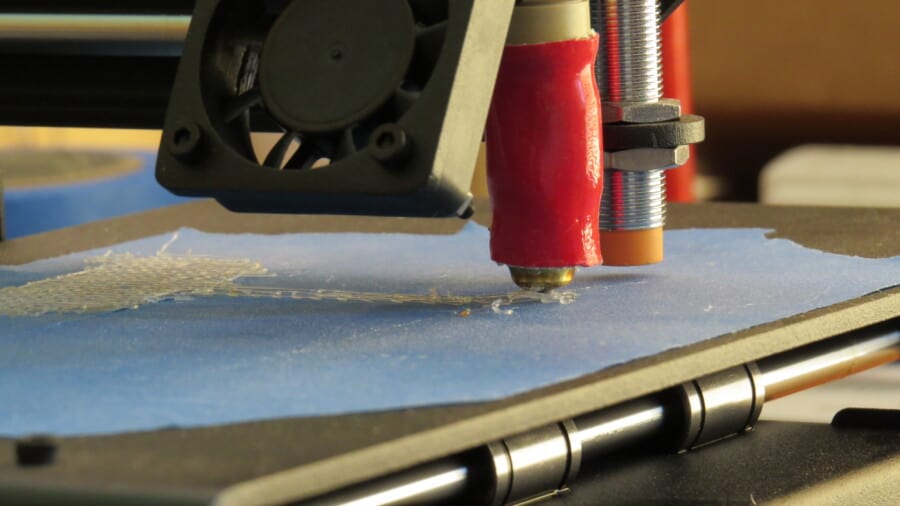
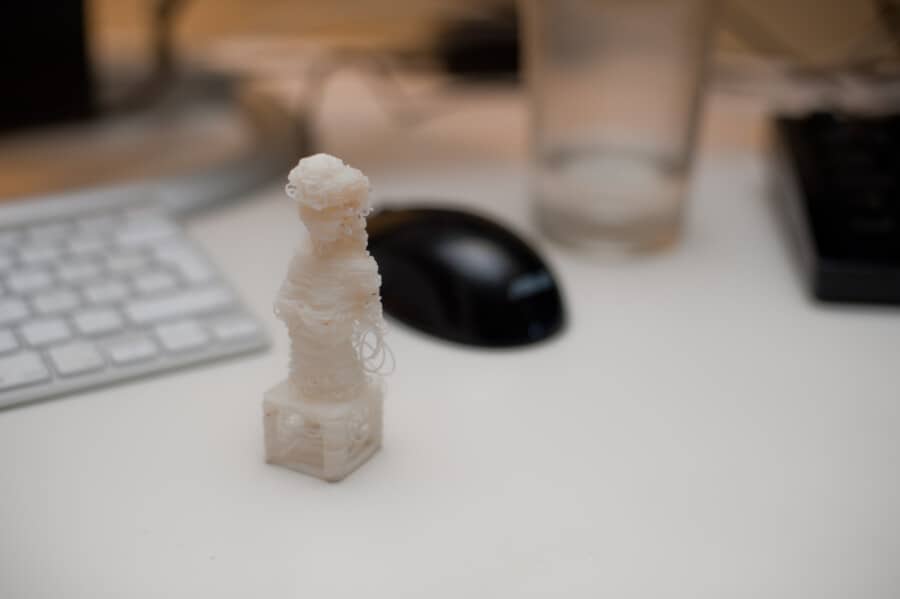
The Anycubic manufacturer’s lineup recently included the Anycubic Mega X. This FDM 3D printer’s increased build volume enables the creation of precise models up to 300 x 300 x 305 mm in size. Additionally, the machine has a minimum layer thickness of 50 microns and is suitable to use with a range of materials. To produce mid-sized items, a horizontal resolution of 12.5 microns is more than sufficient. Additionally, it will be sufficient for the creation of sizable but not exceptionally detailed prints. The printer’s affordable pricing is another huge benefit.
To create the ideal Anycubic Mega X Cura profile, the machine parameters must be specified, the print settings must be adjusted and calibrated for the particular material being used.
- Nozzle temp: 210°C/410°F (all layers).
- Retraction: 5mm
- Retraction speed: 50 mm/s
- Build plate temp: 60°C/140°F
How to Get Started
The first thing that is going to pop up on your screen is the Add a Printer box. In it, there will be a section where you can add a networked printer or a non-networked printer.
- Select the non-networked printer. This will show you a drop-down menu containing a list of many different printers.
- Select Anycubic from among the printers.
- You’ll find that while there’s an Anycubic column, there is no profile for Anycubic Mega X. Hence, select the Anycubic i3 Mega instead. This will be our base profile.
- Name the printer whatever you would like.
- Once you’re done, click next.
Related: Anycubic Kobra vs Vyper: Which is The Better Deal?
Clicking next will take you to Cura’s home screen where you will find the printer profile and the X, Y, and Z coordinate systems. However, these coordinates are incorrect right now because we have the wrong-sized bed.
- Click on the name of the printer in the top right corner.
- Click on Manage Printers.
- Go to printer settings and machine settings.
In the Printer tab, you’ll find printer settings & printhead settings
Printer Settings
You’ll find the X, Y, and Z dimensions. Change the dimensions to 300mm in both X and Y and 305mm in the Z height. Keep the build plate shape rectangular. Make sure to check the heated bed option. Checking the heated bed volume option is optional. You can also keep the G-code flavor as Marlin if it applies to your printer. If you have a printer with different G-code software, then you should select this accordingly.
Printhead Settings
In the print head settings, the X min and Y min should be -20 and -10 mm respectively. Whereas the X max and Y max should both be at 10mm. The gantry height should be 0.0mm. Select only 1 extruder because the Mega X is a single extruder machine.
Extruder Settings

Nozzle size should be .4 mm which is the standard for the Anycubic Mega X. The compatible material diameter should be 1.75mm because that is the thickness that the machine can take. Nozzle offset X & Y should be at 0.
Profile Settings
At the right of the Printer name in the top right corner, you’ll find profile settings for different materials. As the machine comes with PLA, so for the purpose of this article, we’ll be creating a guideline in accordance with PLA. If you’re using a different material, you should set up a different profile.
Layer Height
The layer height in 3D printing is used as an indicator for accuracy, how polished the object’s surface becomes, and the number of details that are visible. The lesser the layer height, the more accurate the print will be. Lower layer heights, however, also significantly lengthen the time of the printing process.
By default, Cura will select a normal .2mm profile. You must change this to .15mm. You’ll find that it also shows 3 very basic profiles for .1, .2, and .3mm according to the thickness of the material coming out of the nozzle. .1mm layer height is for more detailed prints, whereas .3mm layer height is for less detailed prints or faster printing.
Within Layer height, you’ll also find many other different settings that you can either activate or deactivate. Make sure to click on the initial layer height and choose .2mm for your initial layer and .15mm for your main layer height.
Related: Best Cura Profile Settings for Anycubic Kobra Max
Walls
Use 3 for wall line count to make sure the print has enough sturdiness around the walls. This will also make the print less likely to fail. Once you set the wall line count, the wall thickness will be calculated on its own.
It’s important to note that having more walls will not affect the quality of your print and in some prints that require more support and structure, having more walls is a plus.
Infill
Infill is not dependent on the 3D printer, despite being an important factor in the print parameters. The density and design of the infill affect the print’s stability. Depending on how the printed object will be used after printing, you must choose the right pattern and density.
You have the option of using the cubic, octet, or gyroid for stable objects. You can select a hexagon or a grid for everyday objects. Last but not least, you can select zigzags or lines for decorative prints.
Along with the infill pattern, the density also has an impact on how stable the finished product will be. An object with a density of 100% is solid, while one with 0% is completely empty. For most items, a density of 15 to 25% is appropriate.
Temperature
The printing temperature is primarily determined by the filament you are using. Using incorrect printing temperatures can lead to several of the most common issues. These problems with extrusion include stringing, over- and under-extrusion, and other problems including the occurrence of spots or blobs.
You might want to set the build plate initial layer and print the initial layer separately to make sure the first layer sticks to the bed and the rest of the layer comes out great.
For the PLA printing temperature, 210°C/410°F is usually ideal. The initial printing temperature should be set slightly higher at 215°C/419°F.
Build Plate Temperature
The build plate surface of the Anycubic Mega X is outstanding, providing excellent print bed adhesion for most of the materials. You must, however, correctly set the print bed temperature in order to utilize it. Too low of a print bed temperature can lead to poor print bed adhesion, and too high of a temperature can cause additional print flaws like warping or elephant foot.
The build plate temperature for PLA, both initial and overall, should be set at 60°C/140°F.
Related: Why Is My Anycubic Kobra Not Sticking to Bed? Answered
Print Speed
With the Anycubic Mega X’s lightweight direct drive extruder, high print speeds may be achieved without risking vibration. In spite of the fact that the actual print rates are much slower than what is technically possible, they are more suited for broad prototypes than for precise details.
The print speed for the Mega X should be set at 50mm per second. Although you can adjust this setting a bit differently, it’s not recommended to set it at any higher than 50mm per second as it will affect the quality of the print.

Retraction
The retraction distance should be set at 5mm whereas the retraction speed should be set at 35mm per second. Again, it is not recommended to set a speed higher than 50mm/s.
Fan Speed
Make sure the enable print cooling option is checked and the fan speed is set at 100% for PLA.
Frequently Asked Questions
What Materials Can You Print with Anycubic Mega X?
You can use the Anycubic Mega X to print PLA, ABS, TPU, HIPS, and Wood.
How Does Wood-based Filament Work?
The majority of the time, wood-based filaments are a combination made of a PLA base material, wood dust, cork, and other powdered wood derivatives. The filament often contains 30% or so wood particles, though the actual percentage may vary depending on the manufacturer.
What Is the Difference Between Hips and Abs?
HIPS is a more fragile material than ABS, but in many cases, crisper, more accurate pulls result from thinner vacuum forming. Although painting is important, it also acts as a weatherproof barrier against the material. A more uniform plastic, ABS is frequently employed in automobile applications.
What Slicer Does Anycubic Use?
Although the slicer software that comes with the Anycubic Photon printer is the Anycubic Photon Slicer, the official slicer recommended by Anycubic is Cura.
Does the Anycubic Mega X Have Auto Bed Leveling?
Although the printer comes with many amazing features, it does not have the auto bed leveling feature.
Final Words
Setting up your Anycubic Mega X profile takes only a little amount of time. With the Cura settings discussed in this article, you can get your printer up and running right away.
