Not only is 3D printing just a fun hobby to start, but it can also be a very rewarding one. Buying a 3D printer introduced me to a community of amazingly creative people, and gave me lots of interesting projects to work on.
What do you need to get started in 3D printing? A 3D printer, a spool of filament, and some free software are all you need. There are many tools you can buy to help you, but these three things are the bare minimum.
But why settle for the bare minimum when there are so many awesome tools you can get? Here is everything you need to know about getting started with 3D printing.
Choice of printer
Obviously the first thing you’ll need to buy is a 3D printer, but there are so many options that it’ll make your head spin.
Should you get an FDM printer or a resin printer? Should you get an expensive printer or a budget one? Does your choice of printer limit your filament options?
All of those questions matter, and there are dozens more that’ll affect your final decision. It’s quite daunting at first, so I’ll break down the different printer types for you.
The standard 3D printer: FDM
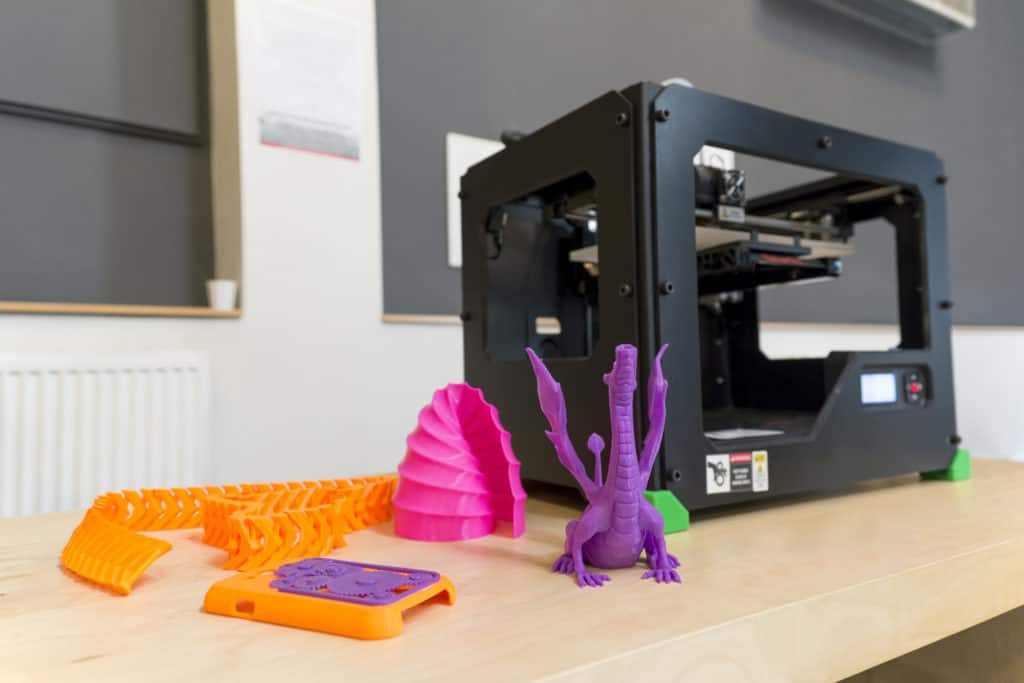
FDM stand for Fused Deposition Modeling. This type of machine is operated by taking a material, melting it, and laying it down to create a layer. The layer rapidly cools down, allowing the printer to add more on top of it.
This is the most common type of desktop 3D printer you can buy. Because of this, there is a wealth of knowledge for troubleshooting problems and finding interesting things to print. These are also the cheapest type of printer you can buy.
Build volume
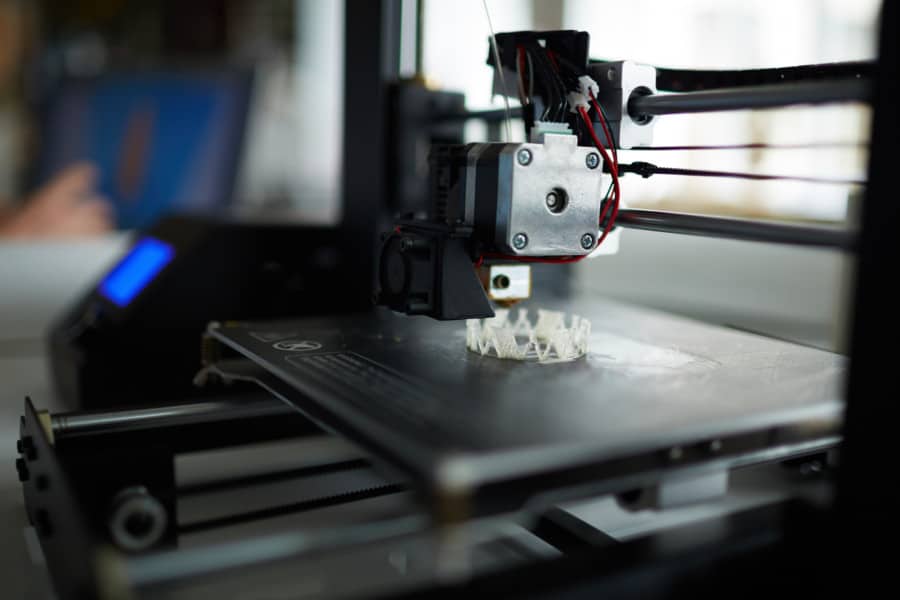
FDM printers typically have a flat surface (known as the bed) onto which an extruder releases melted plastic to become a layer. The layer builds vertically as it moves it Z-axis upward. The highest that a printer can print is known as the build height.
The build height definitely a huge factor into which printer you buy. If you are getting into cosplay, you’re gonna need a larger build height for bigger items.
You will not only need to consider build height, but also bed size. The size of your print bed will determine how long and wide of an object you can print.
Some people are only into printing miniatures, so they opt to go with a smaller build volume. On the other hand, printing statues and large vases would need a build volume to suit them.
In order to find what build volume would be right for you, first determine what its primary use will be. If you think you will ever need the larger build volume for any reason, it would be wise to get a larger bed.
You don’t need to go overboard and buy a Creality CR-10 S5, which has a massive 500mm x 500mm x 500mm (19.7 x 19.7 x 19.7 inches) build volume. Unless you plan on using a 1mm or larger nozzle, large prints on this printer could take literally hundreds of hours.
My first printer was a Creality CR-10, which has I think is a perfect build volume to start with. I’ve only maxed out the height one time with it, and the print took just around 100 hours.
More expensive doesn’t mean better
As opposed to things like PCs, more expensive doesn’t always mean it’s better. I’m a massive fan of Creality, which creates amazing budget printers. The quality of a $500 Creality printer rivals expensive printers, such as Ultimaker.
In fact, my current favorite starter printer is a Creality Ender 3. This is the perfect balance between quality and build volume, all for the price of $200 (you can get it on sale for cheaper).
I’m not affiliated with Creality, I just really love their machines. If you decide that you want to spend more on a printer, go with a Prusa i3.
Resin printer
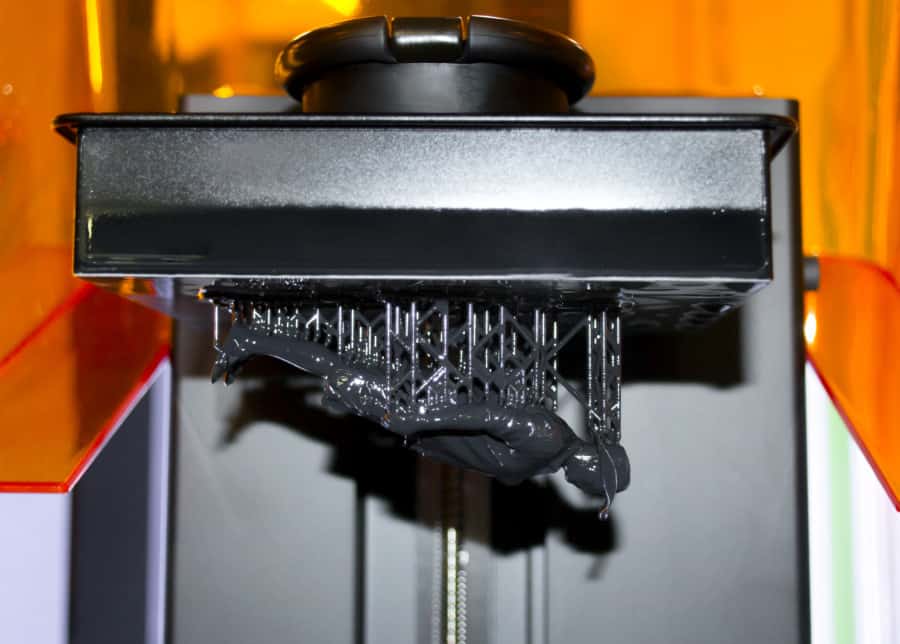
If you need small objects printed in precision, you should look into a resin printer. Resin printers have absolutely gorgeous print quality, and almost nonexistent layer lines.
You’ll end up paying much more for one of these machines. You can get cheap ones for a couple hundred, but I’m not sure how good they are.
Also, the resin refills can be expensive, and don’t print as much as PLA can. This means making mistakes with FDM filament is much more forgiving (and 3D printing involves a lot of failures).
I personally have never owned a resin printer, but I know they are expensive. If you’re willing to drop a lot of money on a printer and refills, go with resin. If not, stick with FDM.
Choice of filament
Filament is a must if you’re going to be printing a lot. In fact, I recommended in this article that you should always have two filaments on hand. One of these will be your backup for when you run out.
The choice of filament comes with FDM printers. Resin printers have their own refills that you buy for them.
Material
With FDM, you have PLA, ABS, PETG, PVA, Nylon, and tons of others. Your choice of printer matters, as certain printers can’t print some of these materials.
The most commonly used is PLA, followed by ABS and PETG. PLA is easy to print with, has barely any fumes, and doesn’t need an enclosure. PETG also doesn’t need an enclosure, but absolutely needs a heated bed. ABS and PETG are stronger filaments, but are harder to work with.
Brand
After you narrow down what material you’ll be using, you need to find what brand you like the best. A few common brands are Hatchbox, Matterhackers, Protopasta, and Zyltech.
Zyltech is a lesser known filament, but I recently tested it out since it’s cheap. Price is a factor in the brand of filament you use.
Some filaments will work better than others for your printer. Some might string more, and others might blob more. It’s really a matter of preference, so try out a bunch of different brands and see which you like best.
Choice of software
When I first got a printer, I didn’t even know I needed a slicer. Like the total newbie that I was, I tried uploading the .stl file directly to the SD card and printing.
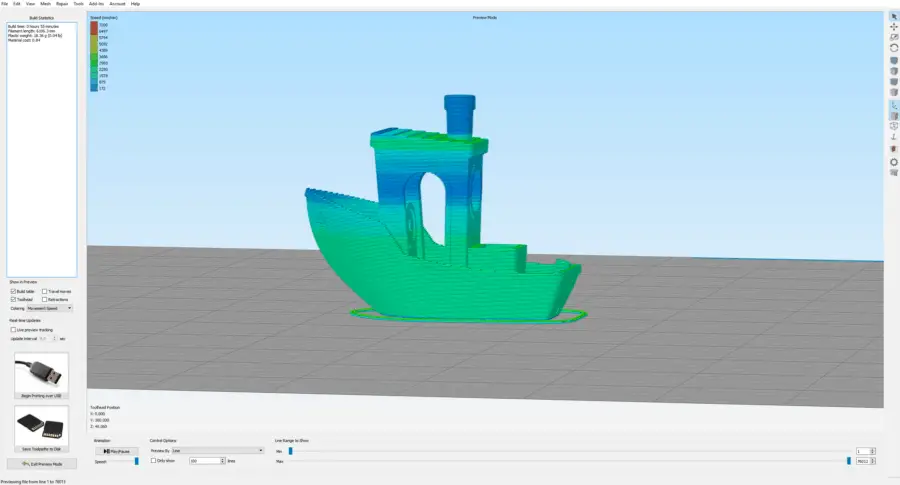
Obviously, this didn’t work. You first need a program that will take your file and slice it up into hundreds of small layers. This is where your “slicer” program comes in.
The resulting file is called .gcode. This file (also known as machine code) is how the printer knows what to print. The .gcode tells the printer things such as layer height, temperature, speeds, etc.
There are 3 main slicers people use, and I have used all 3 in the past. As far as which one is the best, all that matters is that you pick one and learn it. The tool you are best with will give you the best results.
Slic3r
After learning that I needed a program to make .gcode, Slic3r was the first one I downloaded. Since then I have not used it, but it worked perfectly for me at the time.
The best reason to use this is that it’s completely free. I have not directly compared the quality to any other slicer, but I was impressed by my first successful prints with it.
Cura
Cura by Ultimaker is probably the most widely used option since it is free. This is the option that I moved to after using Slic3r, and I used it for quite a while.
The quality you can get with it is phenomenal. It’ll take you a long time to learn how to make your quality the best, but there are a lot of helpful resources for learning.
Honestly, Ultimaker did an amazing job with their software, so if you like the free route, you probably won’t need anything other than this.
Simplify3D
If you have any money left over after dropping hundreds on a printer and filament, you might want to look into Simplify3D. This is my all time favorite slicer to use. Since I switched to it, I haven’t looked back.
This program $150 software offers much more than the free slicers in terms of tweaking and other features, such as supports that you can customize.
If you aren’t sure why these features are worth the $150 price tag, then you should probably stick with the free slicers. Once you are well acquainted with a free tool, and realize its limitations, then you should consider going the paid route.
Summary
The only three things you’ll need is a printer, filament, and slicer. This doesn’t have to cost you an arm and a leg, as you can get a great budget printer and free slicer.
No matter what tools you decide to go with, you’ll be able to learn how to get the best quality. If you decide to upgrade anything in the future, you’ll have a better idea on what to spend your money on.